Saturday, March 30, 2013

Documenting March/April

Hello all! 

It's time for the next Memorable Seasons Project 12 / Project Life / Documenting in 2-page fashion challenge.

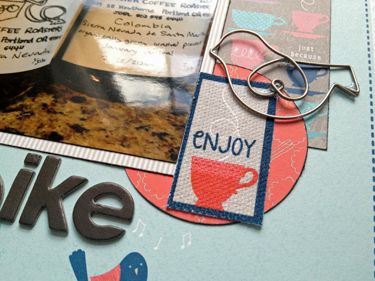
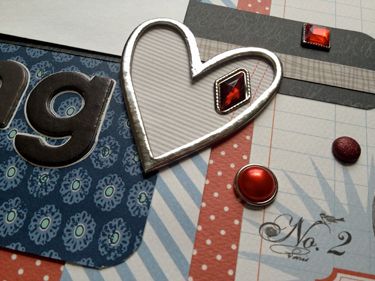
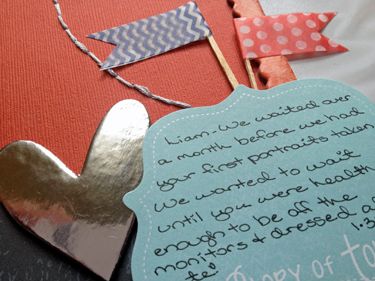
Although I am doing Project Life for 2013, I am still playing catchup on Project 12. But, that's okay because I have all the journaling already typed out on my blog, the sketches picked out and all the photos printed. So when I find good product to use for a P12 spread, I go to town. And, I thought my March mix-up kit would be great for my November 2011 (yep - 2011) layout... 

And here's the sketch I used for reference. This is the actual November 2011 Project 12 sketch... 
I was really unsure about this one because of the sheer number of photos and their tiny size, and then I realized this sketch is highly adaptable. I decided to size my photos to 2x3 and use less of them. And of course, my arrangement is not the same as the sketch but you can definitely see the inspiration I got from it. 

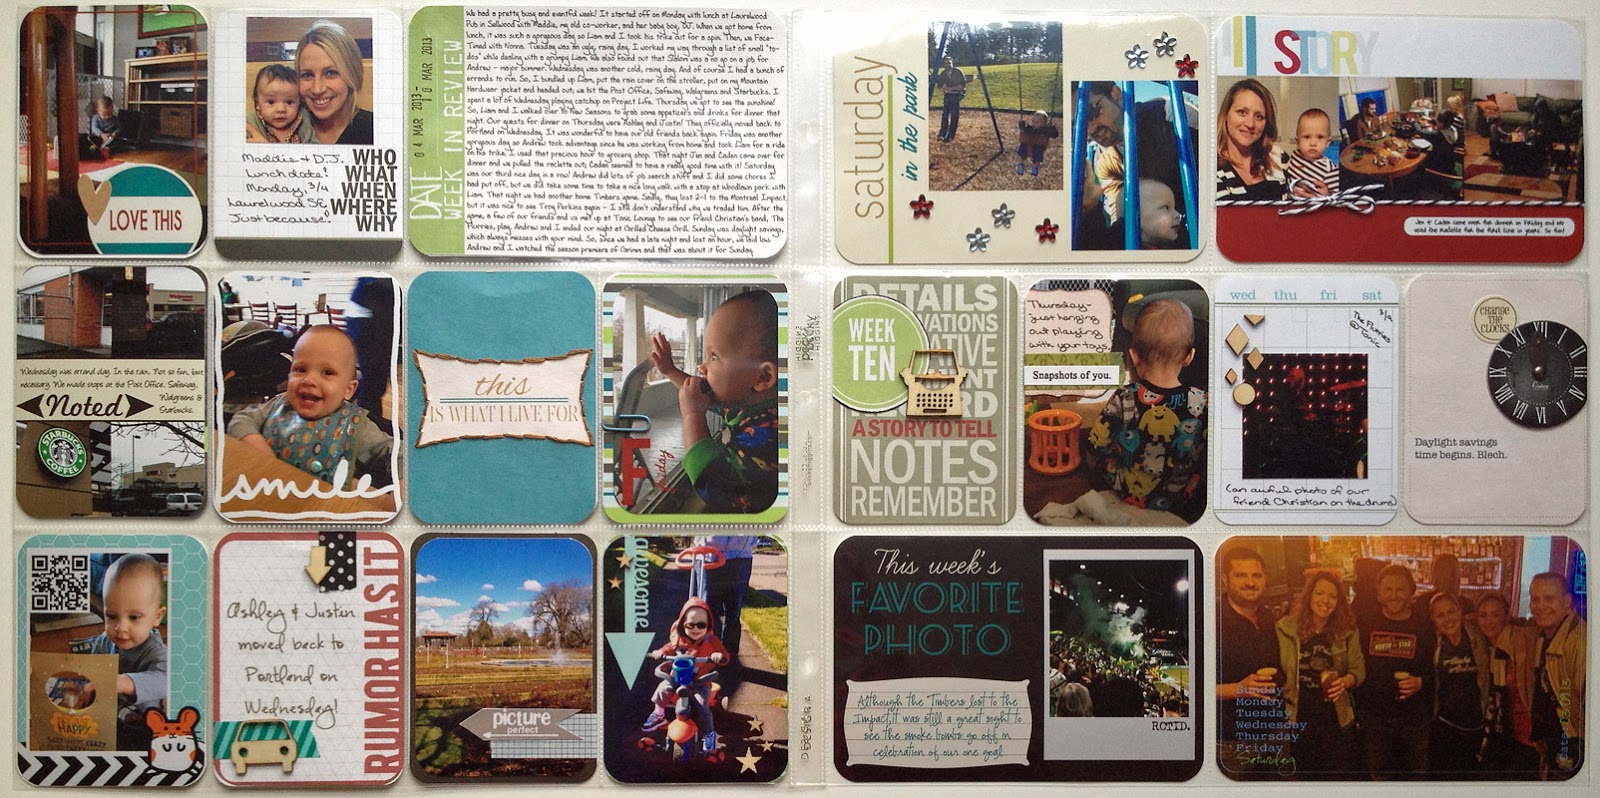
And for those who are doing or contemplating Project Life, earlier this week, I shared some thoughts on the project now that I'm ten weeks in HERE. I am currently working on Weeks 11 and 12 - spreads are sketched out and photos are printed for both so I am making progress. I hope to share them in the upcoming week but in the meantime, here's my week 10 spread that I posted a couple weeks back... 

So what's your challenge? 
(1) Create a layout based upon the sketch above or in the Project Life divided page-protector fashion, and... 
(2) Upload it to the gallery with a link to the challenge thread in the forum by April 30th to be entered in the monthly prize drawing. 

Can't wait to see your pages!

Friday, March 29, 2013

So much happy in the Birds Of A Feather April kit!

I have to start off by saying that Amy knocked out of the park with the Birds Of A Feather April Kit. I seriously love EVERY. SINGLE. THING. in it. So that means that I should also confess that I got all the kit extras this month. The colors are the first thing that drew me to this kit. And then there's all the fun embellishments like the enamel dots, wood veneers and jumbo ric-rac. Sprinkle in a little boyish fun and you got some scrappy happiness!

So let me start by sharing a two-page spread I created with this kit. I am still playing catchup with last year's Project 12. But, since I have all the photos printed and journaling typed out, it makes it easy to throw a month's spread together when I come across the right products. And, I thought the April kit was perfect for my August spread. So, a few things to point out...first, I printed my journaling on a transparency and then adhered it with Thermoweb vellum adhesive to the top of the journaling card. To create my small green mist drops, I just took the spray top out of the bottle and flicked it a couple times over my page. To create the larger orange mist drops, I used a medicine dropper. By the way, I LOVE this new Tattered Angels formula. I've used lots of mists - Glimmer Mist, Mr Huey's, Color Shine, etc - and this has got to be close to, if not at, the top of the mist list. (Haha - that rhymes!) If you haven't picked up the two extra blue and orange mists, I'm telling you to do it - now. So, when I threaded my banner pieces on the jute, I accidentally mis-threaded the left flag on the banner in the upper right. I was all set to fix it, but then decided I liked having just the one flag different from the rest, so I kept it.

Since Becky Fleck did not create new Project 12 sketches for 2012, I am using the ones she created for 2010. Here's the August sketch I referenced when creating the above layout. You can see I followed it pretty closely but adapting it here and there, like subbing the tree for an additional photo.

And here are a couple close-ups of my layout...

So, March is a crazy birthday month around here and I completely depleted my stash of birthday cards. With my mother-in-law's and brother-in-law's girlfriend's birthdays right around the corner, I needed more birthday cards. I thought the fun, vibrant colors of this kit were perfect for birthday cards. All I needed was my kit, a sentiment stamp from my stash and a little embossing powder.

Here's mother-in-law's card. I used the orange mist and houndstooth template on the lighter side of the orange Echo Park paper to create the tone-on-tone background.


And here's brother-in-law's girlfriend's card. The burst is fussy-cut from one of the My Mind's Eye papers.


And that's it for now! I have four other layouts in the works but you'll just have to wait until later in April for those. Happy Friday everyone!

Tuesday, March 19, 2013

More Birds Of A Feather March Kit Goodness!

I have more Birds Of A Feather March Kit projects to share with you that will hopefully put a smile on your face because I am sure smiling about them! If you have yet to get yourself one of these fabulous kits, I suggest you do so soom because Amy's only got five left!

My first layout is one that I thought of right away when I saw the kit. Once I saw the bikes, the coffee cups and mason jars throughout the Little Yellow Bicycle Just Because collection, I knew I needed to do a layout about Courier Coffee. They are a local Portland company that delivers coffee, in mason jars, by bike courier. Yeah, perfect right? So here's my creation. I added a few of the chipboard pieces available as part of the extra embellishments and of course I had to use the cute coffee cup paper that I got as part of the extra patterned paper add-on. Totally love the way this one turned out!

And here are a couple close-ups...

For this next one I started with this gorgeous piece of lined paper from the Teresa Collins Stationary Noted collection and went from there. I wanted to keep the layout clean to allow the background paper to shine. I created the Polaroid frame myself by simply cutting a piece of white cardstock to 4.5"x5.5" and then matting my 4"x4" photo on it leaving a .25" edge along the top and sides and 1.25" edge along the bottom. I kinda went a little crazy with the Petaloo brads but love the way they look!

And here are a couple close-ups...


This next layout perplexed me because of the size of the photos. These photos are from Liam's first portrait shoot, and I knew the only one I felt comfortable cropping was the one on the far right. So, I turned to a Sketch Savvy sketch for some guidance. I love the stitched circles; well, I love any hand-stitching on a layout! I made the little flags from pieces of the vellum tape and some toothpicks - super easy, simple and cute! I also broke out the super cute Stationary Noted garland for my border.

And here are a couple close-ups...

And lastly, I threw together a quick card with the leftover scraps from the patchwork card technique I shared a couple weeks ago.
 
Thanks for stopping by today to check out my work! I hope you all have a beautiful Sunday and a very happy St. Patrick's Day!

Friday, March 15, 2013

Project Life: Week 10

Week 10? When I told Andrew I needed to really focus on using my Core Kit more because I wanted it almost gone by year-end, he said "well, you have most of the year left." And my response was "yeah, but I just put together week 10. That's almost 20% of the year gone." His response: "Seriously? Week 10? Wow." So, now that the shock has worn off that we are about 20% through this project, here's my Week 10 spread...
And let's take a closer look at the left side. Again, I am really trying to be better about using up my Core Kit, so I am going to start cropping more of my photos smaller than 3x4 and matting them on pieces from the Core Kit. It adds a lot more to the project for sure! The QR code in the lower left leads to a video of Liam interacting with the Hamster Dance card he got from Grandma Beth.
And here's the right side. Totally love my title block this week. I used a pretty filler card from my Core Kit as the background, added my title circle and then just purchased wood veneer typewriter. And that's it and I love it! I'm also really happy with how my daylight savings block turned out. Used a freebie card from online, added my own text and pulled out a super-old chipboard clock and sentiment sticker from my stash - awesome! And the "This Week's Favorite Photo" block? Love how this turned out too!
Also, I kept the Hamster Dance card just as I did the Love Bug card from a couple weeks ago. Here it is hole-punched and inserted into the album.
As of this week, I am no longer providing supply lists for my Project Life spreads. It is extremely time-consuming and cumbersome to list and link all of them. You can always email me at msmith912(AT)gmail(DOT)com if you want to know where I got a specific item, check out past supply lists on all my Project Life Week 9 and earlier posts as I repeat lots of supplies, or check out my Project Life Pinterest board.)

Monday, March 11, 2013

Project Life: Week 9

Project Life Week 9 - one of my favorites to date! We had a pretty fun week which helped make scrapping this week fun but I also love the mix of photos and product on this spread too! There are still six photos of Liam on this one (I have been trying to include other aspects of life but it's hard when you are the stay-at-home-mom of one child) but lots of other fun stuff too!

And here's the left side in more detail. I forgot to take a photo of my first Birds Of A Feather kit before I cut into it so I just took the photo Amy had on the website. Love the recipe card from A Vegas Girl At Heart.
And a closer look at the right side now. The top three photos are from the Timbers season opener - it was the week's big event so I really wanted it to be a prominent focus of the spread. The QR code in the corner of the Tifo photo takes you to a YouTube video of what I recorded at the game during the last half of the National Anthem and the raising of the tifo display. I finally used a filler card from my Core Kit as just that - a filler. I of course added a few wood veneers to it for just a little pop!

And here's this week's supply list...
(Please note that this will be the last week I am providing supply lists. It is extremely time-consuming and cumbersome to list and link all of these. You can always email me at msmith912(AT)gmail(DOT)com if you want to know where I got a specific item, check out past supply lists on all my earlier Project Life posts as I repeat lots of supplies, or check out my Project Life Pinterest board.)

Sunday, March 10, 2013

Project Life: Week 8

I fell behind a bit the last couple weeks on Project Life due to design team deadlines, but now I am all caught up! So today, I am sharing my Week 8 Project Life and tomorrow I'll be showing you Week 9. This week was a pretty low-key week with the highlight for me being Sarah's baby shower on Sunday...

And here's a closer look at the left side. The QR code on the Colbert Report card leads to a YouTube video of Liam watching the Colbert Report intro. He loves that intro. He bounces up and down and is totally enthralled with it. The Rafia Dental logo block is actually cut from my patient goodie bag. The shower invitation was actually 5x7 and I didn't want to include an extra insert for it. So I scanned the invite, resized it to fit a 4x6 block and reprinted it on white cardstock.

The printed word background that the Tuesday Polaroid frame is on is actually packaging from a Prima flower pack - I love being able to recycle stuff like this! The photo of me getting my haircut was super blurry and I didn't want to crop it in any further due to the poor quality, so I decided to just put the big heart overlay directly over it. Totally love the photo of the three moms-to-be at Sarah's baby shower. (Sarah's the one in the middle by the way!)

Here's this week's supply list:

Wednesday, March 6, 2013

Patchwork card with the Birds of a Feather March kit!

I am so excited to have shared my first Birds of a Feather tutorial! So I decided to share it with all my blog readers here. I saw this technique a few months back at Two Peas and had to give it a try. So here we go!

(1) Gather your supplies: several different papers, a sheet of letter size cardstock, cardstock trimmed and folded to standard greeting card size (5.5" x 4.25"), an adhesive runner, a trimmer and embellishments.

(2) Cut a total of 17 1/2" wide, 12" long strips from your various papers.

(3) Adhere your strips side-by-side vertically along your sheet of letter-size cardstock. Be sure to separate and space out patterns of like color and pattern.

(4) Trim 1/2" strips from your patterned-paper covered cardstock perpendicular to the strips you just adhered to that cardstock.

(5) Adhere the checked strips to your greeting card base. Stagger and flip your strips so that the same patterned block is not adjacent to another block of the same pattern. Once you're finished, you should have a bunch of leftover checked strips so put those aside for use on another project or make a second card! (Note: In these photos, you can see that my squares don't line up perfectly. I purposely cut my strips around 1/2" wide and not exactly 1/2" wide. I did this to give my card a more "homespun" look. Of course, you will have more of an exact, clean grid if you cut all your strips to exactly a 1/2" wide. It all depends on the look you want.)

(6) Trim off the overhanging strip pieces from your card.

(7) Embellish your card and add your sentiment. I prefer to keep the embellishing minimal on this type of card because the background is very busy.

(8) Pick a recipient of your finished card!
 

Thanks for checking out my tutorial! I hope you'll find it useful for creating a quick card that looks like it takes forever to create and it's a great way to use up long, thin scraps of paper!

Tuesday, March 5, 2013

Memorable Seasons March MOTM: Marie!

Congrats to Marie for being the March Member Of The Month at Memorable Seasons! Marie is such a vital part of our little MS community and we love having her lovely Irish spirit on the boards! Be sure to visit the Memorable Season blog to get to know Marie a little more and also see some of her personal favorite projects. In honor of Marie, the design team each lifted one of Marie's beautiful layouts from her MS gallery.

Here's the layout I lifted...

...and my take on it. I used my Memorable Seasons March Travel Mix-up kit to create it...

(Supplies: Bo Bunny papers; Bazzill cardstock; Basic Grey and Dream Street alphas; The Paper Co vellum; Glitz journaling card; Making Memories tiny alphas; Joann photo corners; Studio Calico wood veneers; unknown ribbon, lock and key embellie and game card; Sakura pen.)

My Sketch World Sketchathon Creations

During February, My Sketch World had their Sketchathon in honor of their 7th anniversary. I participated in the games and by completing a few of the sketches...namely, all the card sketches. Unfortunately, I didn't have time to complete any of the layout challenges but I really need to stock up on greeting cards and I had a ton of old scraps to use. So focusing on the card sketches was perfect for me. Here are the cards I created...